Stainless steel appliances add a sleek and modern touch to any kitchen, but fingerprints, smudges, and streaks can quickly tarnish their beauty. Luckily, there's a solution! Here, you'll learn how to clean your stainless steel appliances like a pro to keep them looking their best.
Before you get cleaning, know this: Stainless steel might be a resistant material, but that doesn't mean it can't be affected by anything. Here are two crucial things you should avoid to keep your stainless steel surfaces in top shape.
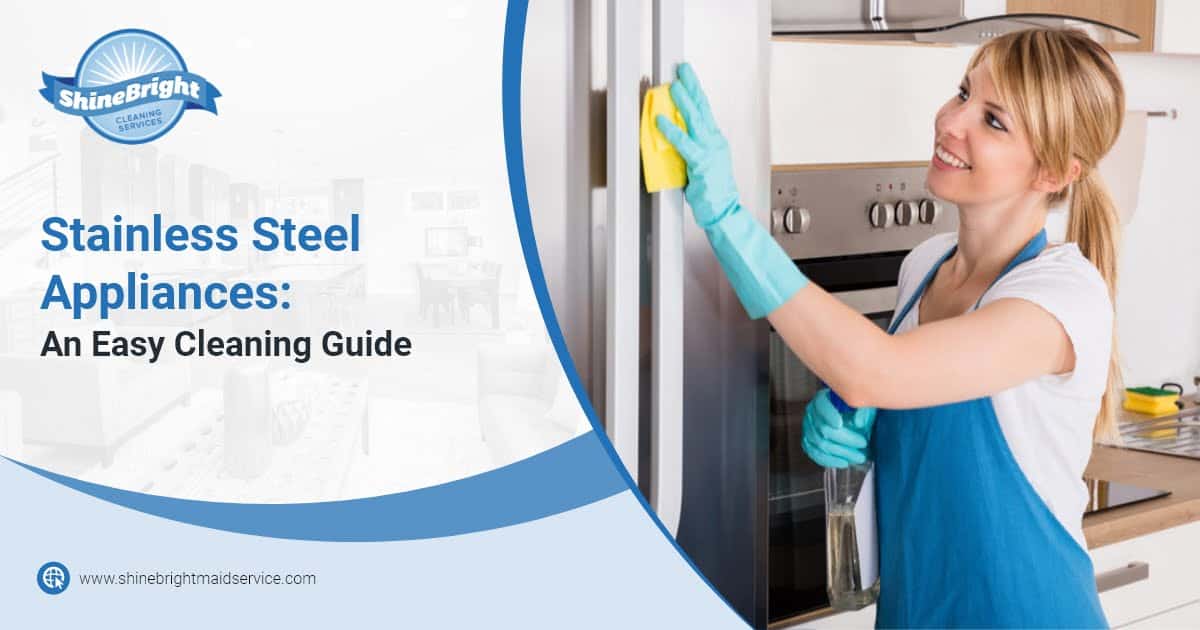
Like wood surfaces, stainless steel also has a grain. So, wiping against it increases the chances for lint or other residues to get stuck on it—the opposite of the result you want. More importantly, the surface could get scratched and lose its shine.
Chlorine-based cleaners, steel wool, or solutions with ammonia will discolor or damage stainless steel. While these are common harsh products, they aren't the only ones you need to be wary of; check your appliance product recommendations for other substances to avoid.
Knowing what to avoid when cleaning stainless steel is half the battle. The other half is cleaning your appliance properly. Here's how to do it:
Due to its glossy finish, even a thin layer of dirt can make stainless steel look dingy. So, what you need to do first is to dust your appliances thoroughly—it may be all they need to look clean again!
To do it, use either a duster or a clean microfiber cloth. Dust along the grain, beginning from the top and ending at the bottom.
Pro tip: If you can't easily see the direction of the grain, use your fingers to feel it on your appliance's surface.
Sure, products like Bar Keepers Friend or even glass cleaner might do the job. However, if you want to spare yourself a trip to the store (and a few bucks), there are natural alternatives you can easily make with common pantry items. Here are two highly effective options:
Once you have your solution at hand, spray it generously over your appliance, and wait around ten minutes for it to take effect. To keep the surface from drying too soon, spray the area a couple of times more before the ten minutes are up.
Then, grab a clean microfiber cloth and wipe off the dirt. Avoid using circular motions; wipe in smooth, straight movements, and always while following the grain. If you encounter tough spots, don't be afraid to use a little more elbow grease.
Note: If you opt for a store-bought cleaner, always follow the indications on the label. If you're unsure of the product you're using, spot-test it first.
Lingering moisture can stain your appliance's surface, so you need to remove it after wiping. To do it, use another clean microfiber cloth and wipe along the grain to dry any excess liquid. Once done, do this one more time to really bring that glossy finish to your appliance again!
Besides offering top-notch cleaning services in Plymouth and Martha's Vineyard areas, Shine Bright Cleaning Services help homeowners with great cleaning guidance. Visit our blog for the best tips, hacks, and guides to keep your house sparkling clean!
Shine Bright Cleaning Services
52 Court St, Plymouth, MA 02360
(508) 654-2535
Shine Bright Cleaning Services
5 Farm Path, Vineyard Haven, MA 02568
(508) 654-2535
Shine Bright Cleaning Services
197 Palmer Ave, Falmouth, MA 02540
(508) 654-2535

© 2025 Shine Bright Cleaning Services
 by:
by: 