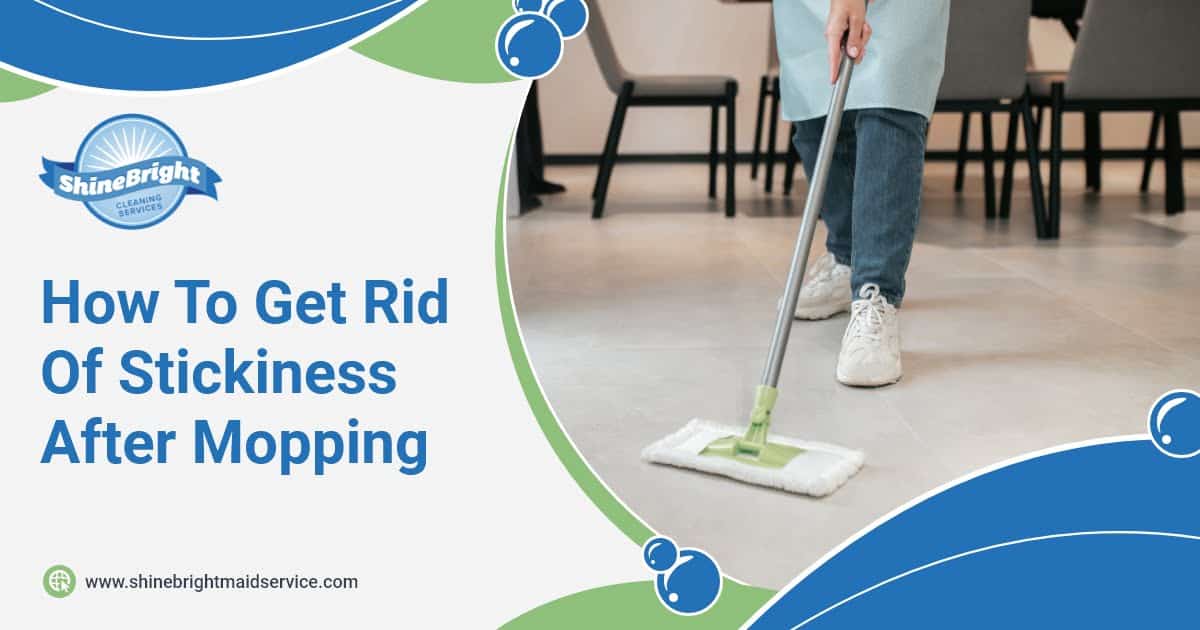
Mopping all your floors only to step back and realize there's a new, unwanted stickiness to contend with can upset anyone. Don't let that tricky tackiness get the best of you! Check out our savvy guide on how to bid farewell to those sticky floors and enjoy a gleaming home.
Although a bummer, a sticky floor is not something to break your head over. After you know why it happens, you'll be better prepared to fix the issue and prevent it in the future. Check the main culprits:
Whether you're dealing with vinyl, natural stone, or ceramic floors, the remedy for stickiness is almost as simple as the culprits themselves. Just follow the guidelines below to avoid returning to a grimy floor.
Disclaimer: If you've got hardwood floors, skip to the next section for specific advice.
To get rid of the dirt, your tools need to be dirt-free, too. So, give your mop a good rinse under the tap. As your mop bucket can also collect grime, give it a quick refresh with clean water until it's dirt-free.
As stickiness after mopping is usually caused by dry, dirty residue, it can easily be removed using warm water.
If you feel the stickiness is too much, you can boost the cleaning power. However, don't opt for your usual cleaner; instead, toss in ½ tablespoon of dish soap in the bucket of water.
Sometimes, you'll find areas where the stickiness concentrates. Focus on those zones first to prevent the excess dirt from spreading to the rest of the floor. Use a cloth dampened with water (or the soapy solution) to remove them.
Now, get to mopping as usual, but don't forget to give your mop a little rinse every now and then. The magic here is in maintaining cleanliness, so swap out the water the moment it starts looking like a dirt pool. Finally, let your floors air dry.
Although you can pretty much follow the same routine to clean your hardwood floors as the rest of the floors, there are a few crucial things you need to do to avoid damaging them. Take a look:
At Shine Bright Cleaning Services, we can take over all your cleaning chores so you can relax! Your floors will be spotless, and your whole house will shine. Let our cleaning experts do the dirty work for you so you can have more free time. Get your cleaning estimate now!
Shine Bright Cleaning Services
52 Court St, Plymouth, MA 02360
(508) 654-2535
Shine Bright Cleaning Services
5 Farm Path, Vineyard Haven, MA 02568
(508) 654-2535
Shine Bright Cleaning Services
197 Palmer Ave, Falmouth, MA 02540
(508) 654-2535

© 2025 Shine Bright Cleaning Services
 by:
by: 