When it comes to cleaning unsealed wood floors, many homeowners tend to shy away, fearing the potential damage that could occur. But fear not! With the help of trusted home cleaning providers, the secrets to maintaining the natural beauty of your untreated floors are within reach. By using the right tools and exercising a little care, you can transform your floors into stunning showpieces.
In this guide, we will unveil the tips and tricks that will keep your unsealed wood floors looking flawless. So let's dive in and discover how to clean and preserve your floors without a worry in the world!
Most cleaning tasks are not properly done without dusting first. However, before the sweeping part, pick up every object from the floor that could obstruct your dusting duties. This way, you won't be dragging and pushing around things that could scratch or dent the floor.
Also, it's best if you use a microfiber dust mop to sweep if the head is small enough to reach every corner of your home. Alternatively, you can solve the issue by using a vacuum cleaner with a wand attachment.
Although store-bought cleaners are safe to use on many surfaces, you should keep harsh chemicals away from your unsealed floors. Instead, fill a bucket with water and a bit of mild dish soap. This product is strong enough to tackle the dirt while being soft on wood.
Many blogs recommend some well-known products to clean raw wood. However, most of those cleaners are only suited for sealed floors, while others will leave your floors oily and stain them in the long run. If you find a product claiming to work on unfinished wood, spot-test it first.
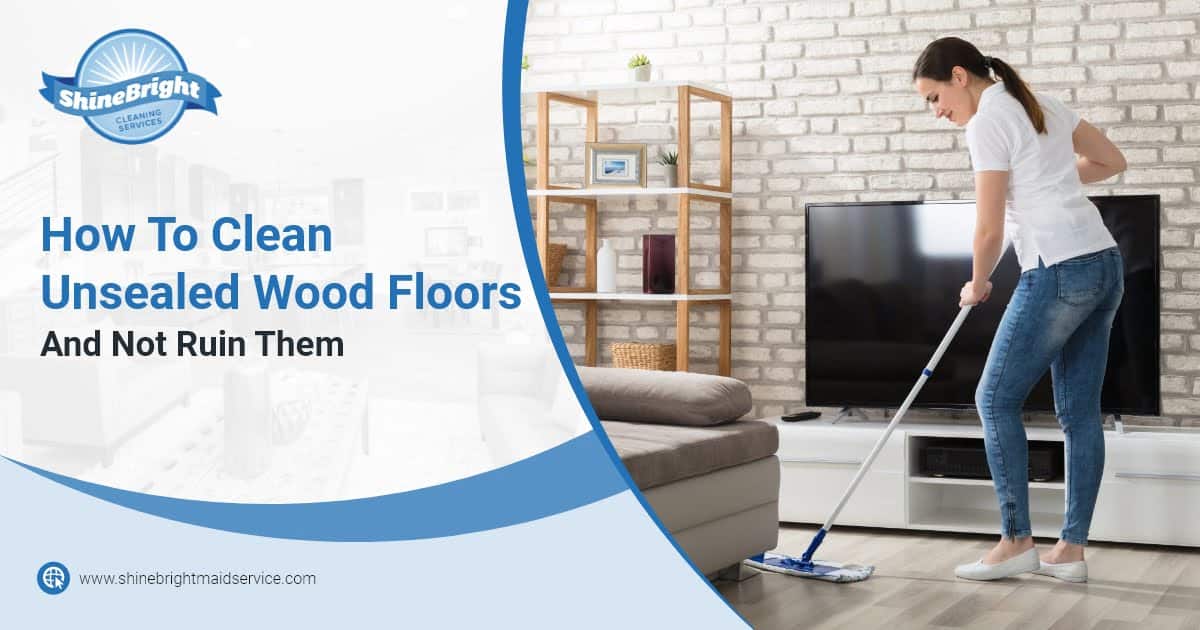
Once everything's ready, grab your mop and dip it into the DIY solution. Be sure to wring the mop well, so it's only slightly dampened, as excess water will make the wood swell.
Mop along the wood grain for better cleaning—this will help you to get the dirt behind little ridges or inside narrow slits. Also, to further reduce the chances for wood to absorb water, mop the floor in sections and dry it immediately before going to the next area.
Sometimes, sweeping and mopping won't eliminate all the dirt. Follow these indications if you're dealing with tough spots:
You should never use a steam mop to clean your unsealed wood floors. These devices heat water to release steam, which could help you with tough grime, but high temperatures and moisture are big no-nos for your floor.
After cleaning your floor, you may want to rest. Let Shine Bright Cleaning Services take over your chores! Our skilled cleaners can meet all your cleaning needs with expertise and care—match your clean floor with a clean house! Ask for your free quote here.