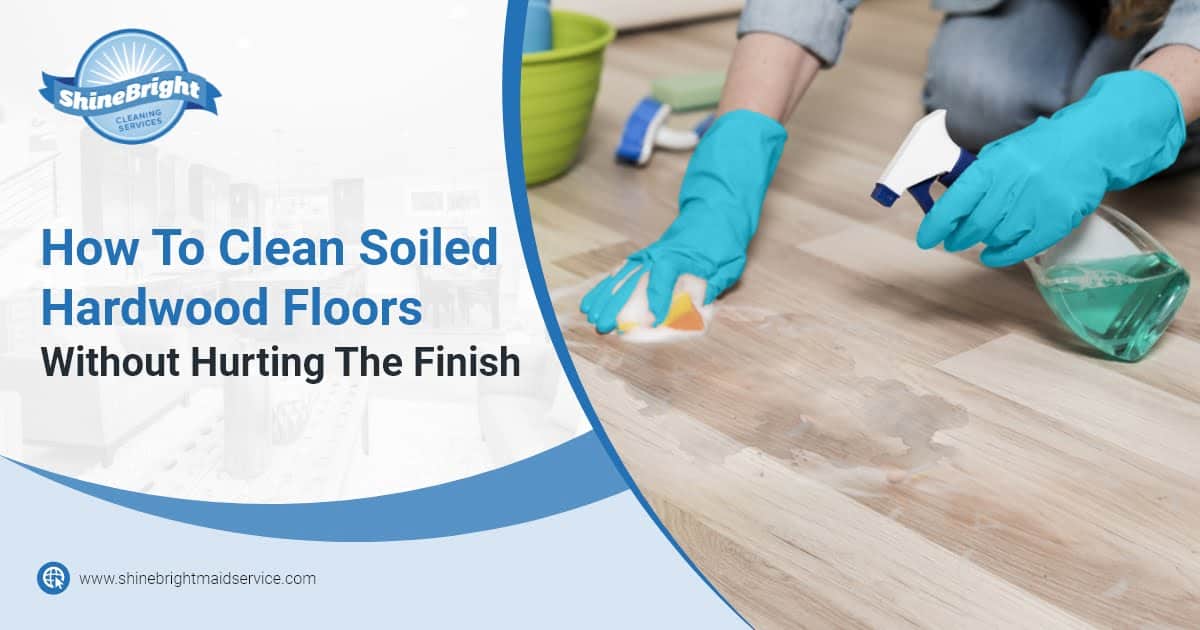
Hardwood floors can really give your home that special touch, but they demand extra care to stay in top condition. You'll need an even more careful touch to handle these delicate surfaces, especially when dealing with stubborn stains.
Luckily, there are some fantastic ways to effectively rescue your stained hardwood floors while letting you be gentle. Here, you'll discover the best options to do it!
In most cases, sanding is the only way to erase those deep-seated blemishes on your wooden floors. Although it works, too much sanding (or doing it too frequently) can harm the finish and even ruin the wood.
Due to the potential damage this could cause on your floors, we recommend you try a gentler method (listed below). However, if you still think it's worth the risk, check out this sanding and refinishing guide.
If you'd rather not risk sanding, there's a more traditional, practical, and less expensive route—especially for stains that aren't that deep. Almost as effective as sanding but with fewer chances of harming your floor, white vinegar will be your best ally for those stubborn stains!
Without further ado, let's jump right into this useful DIY method.
Mix ½ cup of white vinegar with two cups of warm water in a spray bottle, as undiluted vinegar can be a bit too fierce for your wooden floors.
Many people's first impulse may be to drench the stain—as it works with other stained surfaces. However, too much vinegar can damage the finish, and too much liquid could make the wood swell.
So, give the stained area a gentle spray until it's just wet enough to dampen the dirty spot, and leave it to sit for five minutes.
After five minutes, lightly scrub the stain with the soft side of a kitchen sponge until it disappears. If not coming out, use the rough side of the sponge.
Once done, wipe away the dirty residue with a damp cloth.
Moisture is not good for wood surfaces because it can make them twist and swell. So, ensure proper ventilation or use fans to dry the area completely. However, don't let the vinegar solution sit too long; scrub and wipe promptly. Lingering vinegar can also harm your floor's finish.
Note: Repeat steps 2 through 4 for the remaining stained spots.
If you prefer to try one of those specialized cleaners, are not too concerned about stronger chemicals, or don't mind a quick shopping trip, store-bought cleaners are also a good option.
However, be careful and read the label before trying any cleaner to check if it suits your floor type. It doesn't hurt to take even more precautions to avoid damage, so always follow the instructions and do a spot test!
Note: We still recommend giving white vinegar a shot. It's budget-friendly and gentle on your floors.
If you don't want to keep struggling with deeply ingrained stains in the future, here's the secret to stain-free hardwood floors: tackle spills and grime ASAP! Doing so prevents stains and moisture from digging in too deep and keeps grime from hardening.
If you desire shining hardwood floors without the hassle, you can't be cleaning stains again and again. Regular cleaning is the key—especially for hardwood floors. But if the chore list seems endless, Shine Bright Cleaning Services is here to help you maintain those pristine floors.
Request a quote today, and let's keep your hardwoods looking their best!