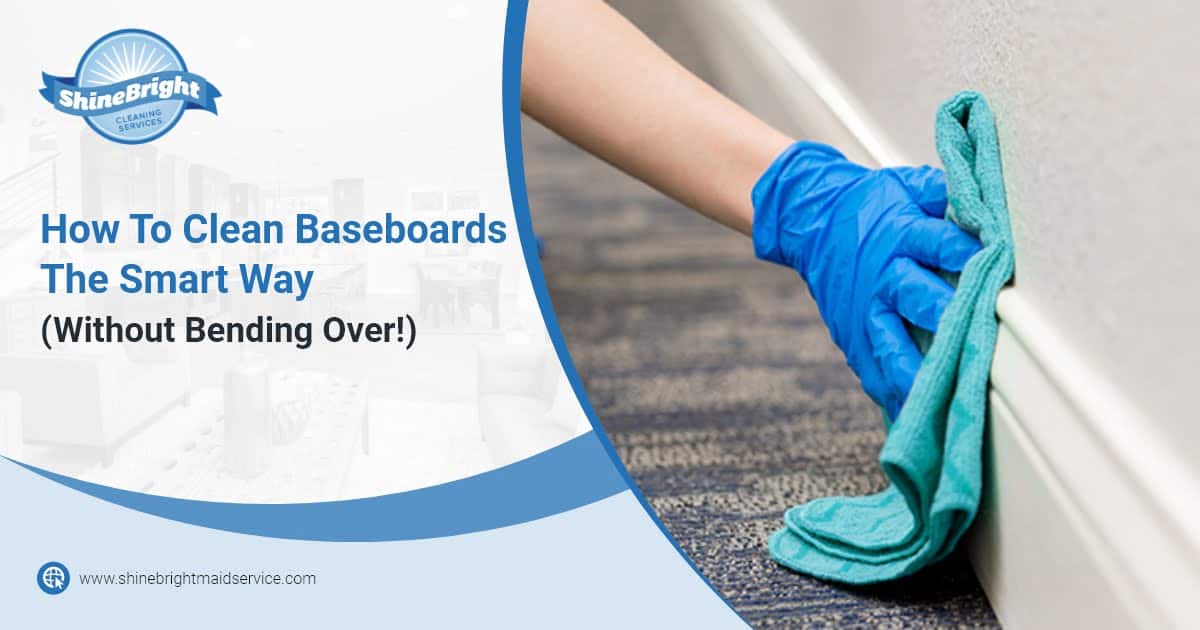
Dusting and cleaning baseboards can be painful, considering you must bend over and kneel. Afterward, you end up with pain in your back and knees. Who wants that?
No worries! We’ll show you how to clean your baseboards without the hassle and pain of bending over. Here are the steps to do so:
Separate all your furniture from the walls so they don’t get in the way. It is much easier to wipe off the dust from your baseboards when you don’t struggle to get your broom behind a couch.
You can use a vacuum wand extension to remove dust, but you can use the DIY mop-sweeper.
First, dust your baseboards with the DIY mop-sweeper by starting at the entryway and making your way through the room. Just pass the mop-sweeper over the baseboards going in one direction so they don’t gather dust from the cloth.
Note: Make sure to wipe off the top of the baseboards because they accumulate most of the dust.
Now that we’ve got the dusting out of the way, we need to replace our dirty cloth with a clean cloth. Before replacing it, damp it in the bucket with the cleaning solution. Squeeze the solution out so the cloth is not soaking wet.
Once you’ve replaced the cloth on the mop-sweeper, gently wipe over the baseboards to remove stains, dirt, and grime.
Note: Do not scrub too hard, or the baseboards might get damaged.
Now, it’s time to rinse our baseboards. Using the same steps as before to remove the stains, get a clean damp cloth and use only water to wipe off the solution.
We’re almost done. This step is important to prevent mold and mildew growth on your baseboards. Replace the cloth on the broom with another clean and dry cloth to remove excess moisture. You can use fans to accelerate the drying process.
Wait for the baseboards to be completely dry before putting all your furniture back in place. It is important to make sure everything is dry to prevent mold from growing.
This is an extra step you might want to take if you have painted baseboards. Old painted baseboards may have cracked or peeled paint, so after you clean them, you can do a touch-up.
Trust the professionals! With over 20 years of experience, Shine Bright Cleaning Services will do the cleaning while you spend your time on what’s important. Don’t waste any more of your precious time cleaning, and get an online estimate NOW!